Razor Scooter Not Accelerating: Troubleshooting Tips for a Quicker Fix
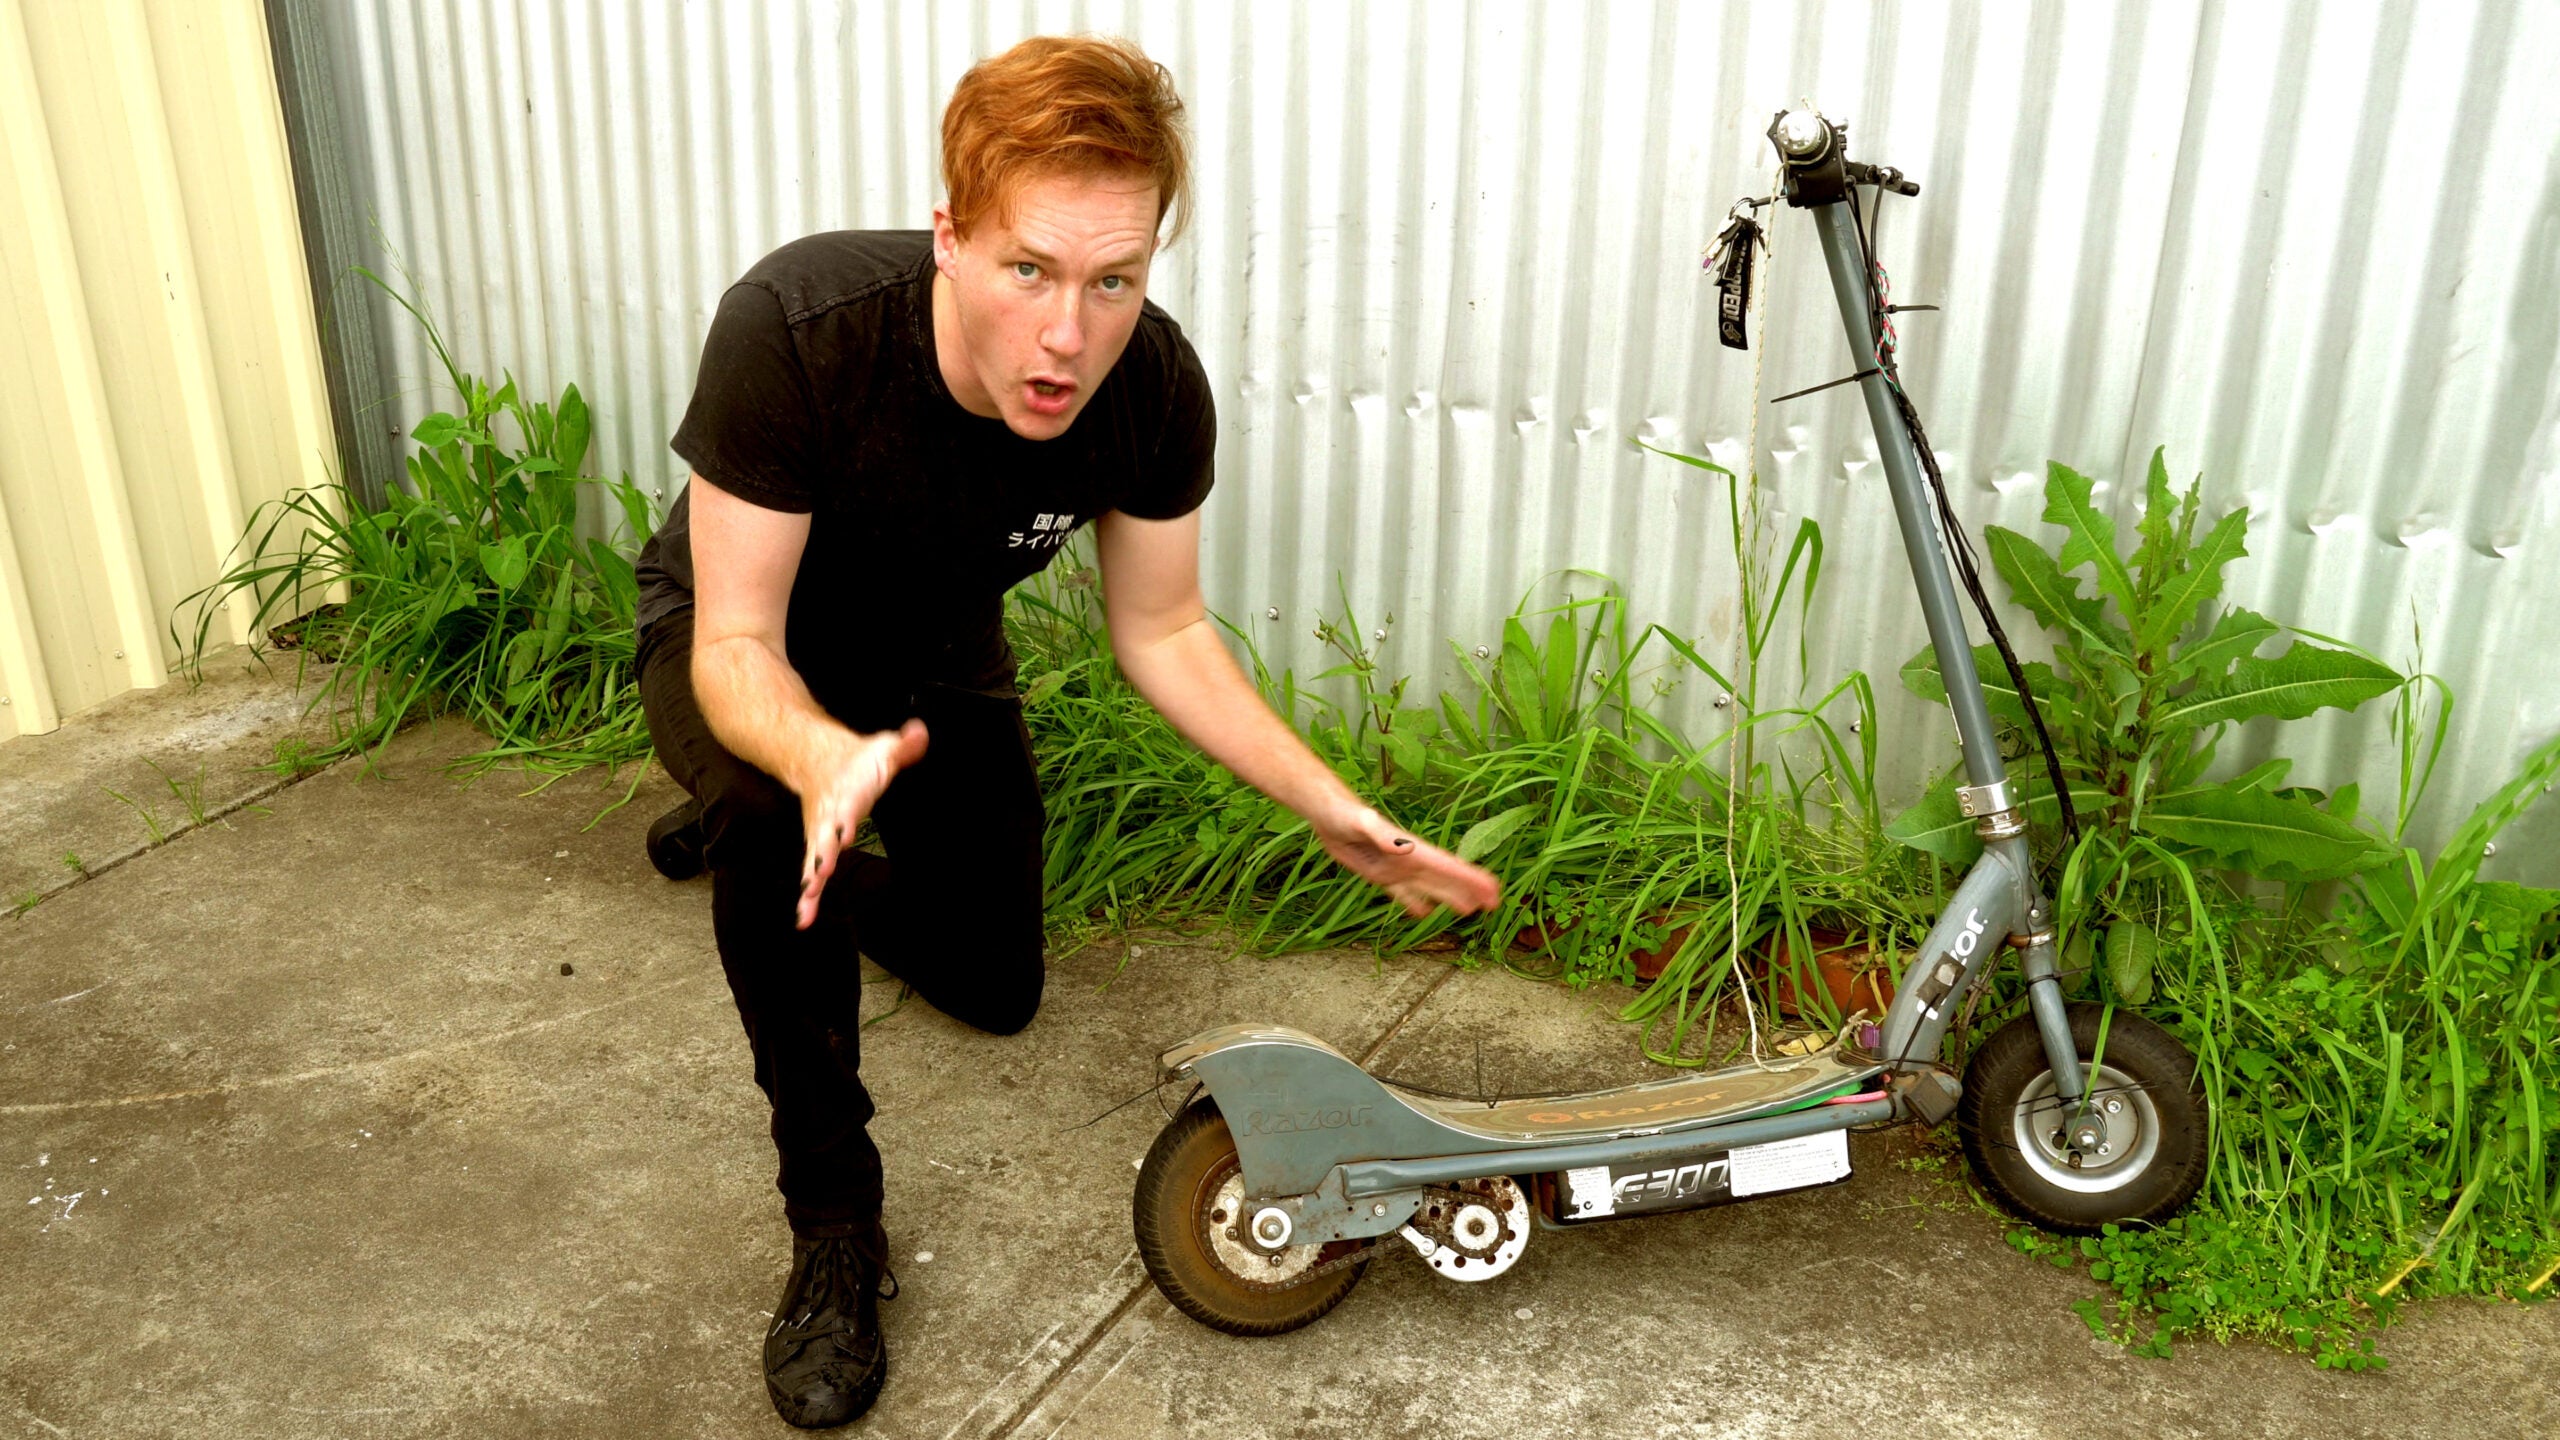
Razor Scooter not accelerating? Troubleshoot the issue by checking the battery, throttle, and brake connections.
If necessary, replace or repair the faulty components to restore acceleration. We will discuss common problems that may cause your Razor Scooter to lose acceleration and provide simple troubleshooting steps to resolve the issue. Whether you are a seasoned rider or a beginner, understanding and troubleshooting these issues can help you get back on the road quickly and safely.
So, let’s dive in and learn how to fix a Razor Scooter that is not accelerating.
Common Reasons Why A Razor Scooter Fails To Accelerate
There are several possible causes for a Razor scooter failing to accelerate, including motor malfunction, battery drainage, or issues with the throttle or controller. Ensuring proper maintenance and troubleshooting can help identify and address the problem effectively.
If you’re experiencing issues with your razor scooter not accelerating, it can be quite frustrating. There are several common reasons why this problem may occur, including battery-related problems, motor issues, and wiring and connection faults. In this section, we will explore each of these areas to help you troubleshoot and fix the problem.
Battery-Related Problems:
- Dead or low battery: Check if the battery is fully charged or needs to be replaced. A dead or low battery can result in a lack of power, leading to the scooter not accelerating properly.
- Loose battery connection: Ensure that the battery is securely connected to the scooter. Loose connections can disrupt the flow of power and prevent acceleration.
- Battery age and condition: Over time, scooter batteries can deteriorate or become less efficient. If your battery is old or damaged, it may not provide sufficient power for acceleration.
Motor Issues:
- Motor damage: Inspect the motor for any signs of damage, such as broken wires or burnt-out components. A damaged motor can hinder acceleration and may need to be repaired or replaced.
- Motor controller malfunction: The motor controller regulates the scooter’s speed and acceleration. If it malfunctions, acceleration may be affected. Check for any error codes or unusual behavior that could indicate a problem with the motor controller.
Wiring And Connection Faults:
- Loose or disconnected wires: Examine all wiring connections to ensure they are securely attached and free from damage. Loose or disconnected wires can disrupt the electrical flow and impede acceleration.
- Faulty throttle or wiring: The throttle controls the scooter’s speed and acceleration. If the throttle or its wiring is faulty, it may not provide accurate signals to the motor, resulting in a lack of acceleration.
Remember, before attempting any repairs or replacements, consult the user manual for your specific razor scooter model. If you are unsure about performing the necessary fixes, it is advisable to seek professional assistance. By addressing these common issues related to batteries, motors, and wiring, you can increase your chances of getting your razor scooter back to its optimal acceleration performance.
Identifying The Exact Cause Of The Problem
The cause for a Razor scooter not accelerating can be determined by identifying the exact issue, allowing for appropriate troubleshooting and repair. Get your scooter back on track with a precise diagnosis and prompt resolution.
If you’re experiencing issues with your Razor scooter not accelerating, it can be frustrating trying to figure out the exact cause. To help you troubleshoot and resolve the problem, we’ll go through a step-by-step process to identify the underlying issue.
Let’s start by checking the battery, inspecting the motor, and assessing the wiring and connections.
Checking The Battery:
- Ensure the battery is properly connected to the scooter.
- Verify that the battery is charged and has sufficient power.
- Check for any signs of damage or corrosion on the battery terminals.
- If the battery is old or worn out, it may no longer hold a charge and require replacement.
- Consider checking the battery with a voltage meter to determine if it’s providing the correct voltage output.
Inspecting The Motor:
- Make sure the motor is securely attached to the scooter and aligned properly.
- Look for any visible signs of damage or wear on the motor.
- Check the motor brushes to see if they are worn out and need to be replaced.
- If the motor is not engaging or making unusual sounds, it may be faulty and require repair or replacement.
Assessing The Wiring And Connections:
- Inspect all wiring and connections for any signs of damage, loose connections, or frayed wires.
- Ensure that all connectors are securely plugged in and making proper contact.
- Look out for any melted or burnt wires, which may indicate a short circuit.
- Check the throttle and the brake wiring to ensure they are functioning correctly.
- If any wiring issues are found, they should be repaired or replaced by a professional.
Remember, troubleshooting electrical issues can be complicated, and if you have any doubts or lack expertise, it’s always recommended to seek professional help.
Step 1: Checking The Battery
To troubleshoot a Razor scooter not accelerating, start by checking the battery. This crucial step ensures that the power source is functioning properly and can help identify any potential issues.
If your Razor scooter is not accelerating as it should, the battery may be the culprit. Follow these steps to check the battery and ensure it is functioning properly:
Charging The Battery Fully:
- Connect the charger to both the electric outlet and the charging port on the scooter.
- Leave the battery charging for the recommended time, usually indicated in the user manual or on the charger itself.
- Monitor the charging process by checking the LED light on the charger. A solid green light usually indicates a fully charged battery.
- Disconnect the charger once the battery is fully charged.
Testing The Voltage With A Multimeter:
- Ensure the scooter is turned off and disconnected from any power sources.
- Set the multimeter to the DC voltage setting.
- Connect the multimeter’s positive lead to the positive terminal of the battery, and the negative lead to the negative terminal.
- Read the voltage displayed on the multimeter. It should match the voltage specified by the manufacturer. If the voltage is significantly lower, it may indicate a weak or faulty battery.
Replacing The Battery If Necessary:
- If the battery voltage is lower than expected or if the scooter is still not accelerating after a full charge, it may be time to replace the battery.
- Consult the user manual or manufacturer’s website to find the appropriate replacement battery model for your Razor scooter.
- Follow the instructions provided by the manufacturer to safely remove the old battery and install the new one.
- Make sure the new battery is securely connected and properly positioned within the scooter.
Remember, a faulty or weak battery can greatly impact the performance of your Razor scooter. By following these battery-checking steps, you’ll be one step closer to getting your scooter back on the road and enjoying smooth acceleration.
Step 2: Inspecting The Motor
Inspecting the motor is the crucial second step when your Razor scooter is not accelerating. Carefully examine the motor for any issues that may be causing the problem.
Examining The Motor For Signs Of Damage
Inspecting the motor is the next step in troubleshooting why your Razor scooter is not accelerating. By carefully examining the motor, you can identify any visible signs of damage that may be causing the issue. Here are some key points to consider when inspecting the motor:
- Begin by visually examining the motor for any signs of physical damage such as cracks, dents, or loose parts.
- Pay close attention to the wiring connections and make sure they are secure and not frayed or broken.
- Check for any signs of water damage or corrosion, as moisture can affect the motor’s performance.
- Inspect the motor housing for any debris or obstructions that may be impeding its function.
- Take note of any strange smells or unusual noises coming from the motor, as these can also indicate a problem.
Testing The Motor Using A Voltmeter
Once you have conducted a thorough visual inspection of the motor and have not found any obvious signs of damage, the next step is to test the motor using a voltmeter. This will help determine if the motor is receiving and outputting the correct voltage.
Follow these steps to test the motor:
- Start by disconnecting the motor from the rest of the scooter’s electrical system. This can usually be done by unplugging the wiring connections.
- Set your voltmeter to the appropriate voltage range and switch it on.
- Place the voltmeter’s probes on the motor’s positive and negative terminals. Ensure a good connection with the metal parts of the motor.
- Have someone activate the throttle or turn the scooter on to charge the motor.
- Check the voltmeter reading. If it shows the correct voltage range, it indicates that the motor is functioning properly. If the reading is significantly lower than expected or displays no voltage at all, it suggests a malfunctioning motor.
Replacing Or Repairing The Motor As Needed
If, after examining and testing the motor, you determine that it is indeed the source of the acceleration problem, you have a few options for resolution. Depending on the severity of the damage, you may need to either replace or repair the motor.
Consider the following:
- If the motor shows signs of physical damage or has completely failed, it may be necessary to replace it with a new one. Contact the manufacturer or an authorized dealer to obtain the correct replacement motor.
- If the motor only requires minor repairs, such as fixing loose wiring or replacing damaged components, you may be able to fix it yourself or consult a professional technician.
- Keep in mind that attempting to repair the motor yourself should only be done if you have the necessary knowledge and experience. Otherwise, seeking professional assistance is recommended to ensure a proper fix.
- Once the motor has been replaced or repaired, reconnect it to the scooter’s electrical system and test for acceleration. If the issue persists, further troubleshooting may be required.
Remember, inspecting the motor for signs of damage and testing it using a voltmeter are important steps in diagnosing why your Razor scooter is not accelerating. By identifying any visible issues and ensuring that the motor is functioning correctly, you can troubleshoot and resolve the problem effectively.
Step 3: Assessing The Wiring And Connections
To troubleshoot a Razor scooter not accelerating, begin by assessing the wiring and connections. Examine all connections and ensure they are secure and properly connected, as loose or faulty wiring could be a potential cause for the issue.
Loose or corroded wires can often cause a Razor scooter to not accelerate properly. To diagnose and potentially fix this issue, follow the steps outlined below:
Checking For Loose Or Corroded Wires:
- Inspect the scooter’s wiring harness and connections for any loose or disconnected wires.
- Look for signs of corrosion on the wires or connectors, such as green or white buildup.
- Ensure that all wire connections are securely plugged in and held in place.
Testing The Throttle And Controller Connections:
- Start by examining the throttle and controller connections. These are typically located near the handlebars or deck of the scooter.
- Gently unplug the connectors and then reconnect them to ensure a proper connection.
- Make sure that the connections are clean and free from any dirt or debris.
Repairing Or Replacing Faulty Wiring Components:
- If you discover any damaged or frayed wires, they may need to be repaired or replaced.
- To repair a damaged wire, carefully strip the insulation at both ends and twist the exposed metal wires together. Secure the connection with electrical tape or heat shrink tubing.
- If a wire is severely damaged or beyond repair, it should be replaced with a new wire of the same gauge and length.
Remember, when working with electrical components, always ensure the scooter is powered off and disconnected from any power source. If you are unsure about any electrical repairs, it is recommended to seek assistance from a professional technician to avoid potential safety hazards.
By thoroughly assessing the wiring and connections of your Razor scooter, you can effectively troubleshoot and address any issues preventing proper acceleration.
Maintenance Practices To Prevent Acceleration Issues
To prevent acceleration issues with your Razor scooter, it is crucial to follow proper maintenance practices. Regularly check and maintain the brakes, throttle, and battery to ensure optimal performance and prevent any potential issues with acceleration.
Regularly cleaning the scooter:
- Clean the scooter after each use to prevent dirt and debris from accumulating and affecting the acceleration.
- Use a soft cloth or a mild soapy solution to clean the scooter’s exterior, making sure to avoid getting water into any electrical components.
- Pay attention to the wheels and bearings, ensuring they are free from dirt and debris for smooth acceleration.
- Regularly inspect and clean the throttle control mechanism to ensure smooth operation.
Avoiding excessive weight on the scooter:
- Be mindful of the weight capacity of your razor scooter and avoid exceeding it to prevent acceleration issues.
- Distribute weight evenly on the scooter to maintain balance and prevent strain on the motor.
- Avoid carrying heavy items or additional passengers that could put excessive pressure on the scooter’s acceleration system.
Keeping the scooter stored properly:
- Store the scooter in a dry and covered area to protect it from moisture and dust accumulation that can hinder its acceleration.
- Avoid exposing the scooter to extreme temperatures as it can affect the battery’s performance, resulting in acceleration issues.
- Folding the scooter properly when storing it can prevent damage to the internal components and ensure smooth acceleration when in use.
Taking proper maintenance measures for your razor scooter can help prevent acceleration issues. Regularly cleaning the scooter, avoiding excessive weight, and storing it properly are vital practices to ensure smooth acceleration and optimal performance. By following these guidelines, you can enjoy a trouble-free riding experience with your razor scooter.
Frequently Asked Questions About Razor Scooter Acceleration Problems
If your Razor scooter is not accelerating, you may have some common questions regarding the issue. Find answers to frequently asked questions about razor scooter acceleration problems to troubleshoot and resolve this issue quickly.
Why Does My Scooter Accelerate Slowly?
- Low battery: Check if the battery is fully charged, as a low battery can cause slow acceleration.
- Motor issues: The motor might be damaged or worn out, leading to sluggish performance.
- Controller malfunction: A faulty controller can impede the acceleration process.
- Stuck brake: Sometimes, the brake may get stuck, hindering the scooter’s ability to accelerate properly.
Can I Fix The Acceleration Issue Myself?
You can often resolve minor acceleration problems on your own by following these steps:
- Check and charge the battery: Ensure that the battery is fully charged and securely connected to the scooter.
- Inspect and replace the motor: If the motor is damaged, it may need to be replaced. Consider consulting a professional for this task.
- Examine the controller: Check for any loose connections or signs of damage. Replace the controller if necessary.
- Release the brake: If the brake is stuck, try releasing it by gently pushing the scooter forward or backward.
How Much Does It Cost To Repair The Motor?
The cost of repairing the motor in a razor scooter can vary depending on the extent of the damage and the specific model of the scooter. Here are some factors that might affect the cost:
- Severity of the issue: Minor motor repairs may cost less, while significant damage could require a complete motor replacement.
- Model of the scooter: Different scooter models may have variations in motor design and pricing.
- Labor fees: If you choose to hire a professional, labor fees will also be a factor.
For a precise estimate, it is recommended to contact a qualified technician or repair service for an assessment and quote tailored to your specific situation.

Credit: www.amazon.com
Frequently Asked Questions For Razor Scooter Not Accelerating
Why Is My Scooter Not Accelerating?
There could be various reasons why your scooter is not accelerating. Check for fuel issues, spark plug problems, or a faulty throttle.
Why Is My Scooter Not Responding To The Throttle?
Your scooter may not be responding to the throttle due to issues with the battery, spark plug, or carburetor.
Why Is My Razor Scooter So Slow?
Your Razor scooter can be slow due to low battery power or a worn-out motor, gears, or tires.
How Do I Reset My Razor Scooter?
To reset your Razor scooter, follow these steps: 1. Turn off the scooter and ensure it is not plugged in. 2. Locate the reset button, usually found near the power switch. 3. Press and hold the reset button for a few seconds.
4. Release the button and wait for the scooter to power back on. Make sure to consult your scooter’s manual for specific instructions.
Conclusion
When faced with a Razor scooter that is not accelerating, there are several potential reasons and solutions to consider. First, check the battery to ensure it is fully charged and functioning properly. If the battery is fine, inspect the throttle and controller for any damage or loose connections.
It’s also important to examine the scooter’s motor for any issues. Cleaning or replacing the motor brushes can often resolve acceleration problems. Additionally, inspect the scooter’s tires and brakes to ensure they are not causing any resistance. Regular maintenance, such as tightening screws and lubricating moving parts, can also help prevent acceleration issues.
By following these troubleshooting steps and addressing any identified problems, you can get your Razor scooter back up to speed and enjoy a smooth, thrilling ride once again.


