Aovo Pro Scooter Not Turning on : Troubleshooting Tips
The Aovo Pro Scooter may not turn on due to a variety of reasons such as a dead battery or a faulty electrical connection. We will explore potential solutions to help you troubleshoot and resolve the issue.
Taking a systematic approach to identify the cause of the problem will allow you to get your scooter up and running again in no time. Whether it’s checking the battery connections, inspecting the power switch, or testing the charger, we will discuss step-by-step instructions to help you diagnose and fix the problem.
By following these guidelines, you can ensure a smooth ride with your Aovo Pro Scooter.
Common Causes
If your Aovo Pro Scooter is not turning on, it may be due to common causes such as a dead battery, faulty power switch, or a loose connection. Check the battery charge, inspect the power switch, and ensure all connections are secure to troubleshoot the issue.
Aovo Pro Scooter Not Turning On
Is your Aovo Pro scooter refusing to turn on? Don’t worry, we’ve got you covered! In this section, we’ll explore the common causes behind this issue, including battery problems, loose connections, and a faulty power switch.
Battery Issues
- Battery drained: If your scooter has been sitting idle for a while, it’s possible that the battery has completely drained. In this case, the scooter won’t power on until the battery is sufficiently recharged.
- Faulty battery: Sometimes, the battery itself may be faulty or damaged, preventing the scooter from powering on. In such cases, it’s necessary to replace the battery with a new one.
Loose Connection
- Loose wires: A common cause of scooters not turning on is loose connections. Check for any loose or detached wires in the scooter’s electrical system. Reconnecting or fixing these faulty connections should solve the issue.
- Loose battery connector: Ensure that the battery connector is securely attached to the scooter. If it’s loose, simply reconnect it properly.
Faulty Power Switch
- Defective power switch: A faulty power switch can prevent your scooter from turning on. In such cases, you may need to replace the power switch with a new one. Consult a professional or refer to the manufacturer’s instructions for guidance on replacing the power switch.
Now that you are aware of the common causes of your Aovo Pro scooter not turning on, you can effectively troubleshoot and resolve the issue. Check the battery, connections, and power switch, making the necessary repairs or replacements. Remember, always prioritize your safety while dealing with electrical components.
Ride on!
Battery Issues
The Aovo Pro Scooter may experience battery issues and not turn on. Troubleshooting steps can help identify the problem and determine if the battery needs replacement or if there is another underlying issue affecting the scooter’s functionality.
If you’re experiencing problems with your Aovo Pro Scooter not turning on, one of the potential causes could be related to the battery. In this section, we’ll explore various troubleshooting steps to help you address battery-related issues. Follow the steps below to diagnose and resolve the problem:
Testing The Battery Voltage:
- Use a voltmeter to check the voltage of the battery.
- Ensure that the battery is fully charged before testing.
- If the voltage reads below the recommended level (refer to your scooter’s user manual for specifics), it’s likely that the battery needs to be replaced.
- If the voltage is within the normal range, proceed to the next troubleshooting step.
Checking Battery Connections:
- Inspect the battery terminals for any signs of corrosion or looseness.
- Clean the terminals using a wire brush or a battery terminal cleaner to remove any corrosion.
- Make sure the battery connections are secure and properly tightened.
- Check the wiring harness for any visible signs of damage or wear.
- If you notice any issues with the connections or wiring, it may be necessary to repair or replace them.
Replacing The Battery:
- If the battery voltage is below the recommended level or it fails to hold a charge, it’s time to replace the battery.
- Refer to the user manual for the correct battery size and specifications.
- Disconnect the old battery and remove it from the scooter.
- Install the new battery, ensuring that the connections are securely fastened.
- Test the scooter to see if the new battery resolves the issue.
- If the scooter still doesn’t turn on, further troubleshooting may be required.
By following these troubleshooting steps, you can effectively address battery-related issues with your Aovo Pro Scooter. Remember to consult the user manual for specific instructions related to your scooter model.
Loose Connection
If your Aovo Pro Scooter is not turning on, the issue may be due to a loose connection. Check the wires and connections to ensure everything is securely attached.
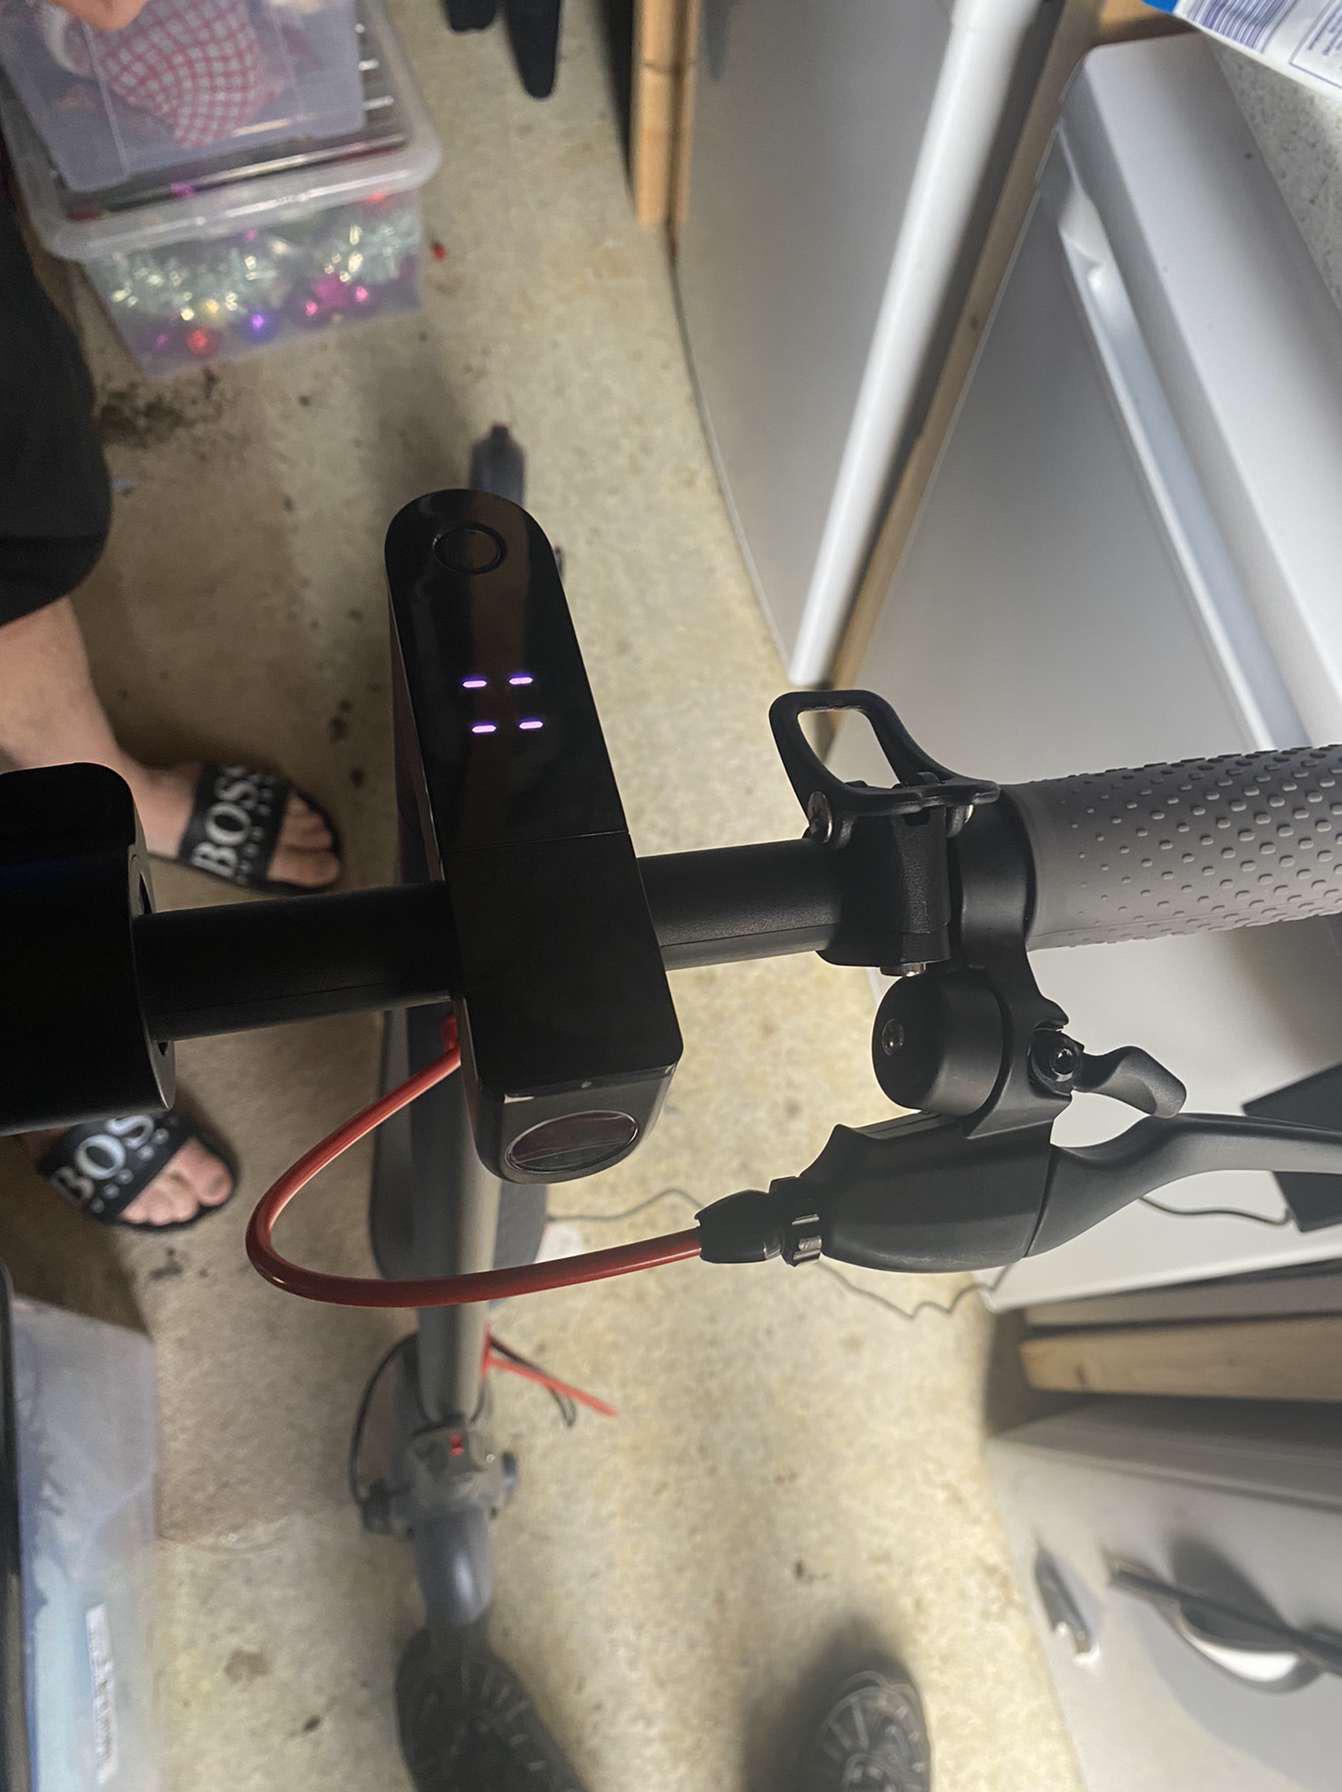
Inspecting The Wiring:
Inspecting the wiring is the first step to take when your Aovo Pro Scooter is not turning on. This will help you identify any loose connections or damaged wires that may be causing the issue. Here’s how you can go about it:
- Start by visually examining the wiring on your scooter, checking for any obvious signs of damage or fraying.
- Ensure that all the connectors are securely plugged in and there are no loose connections.
- Check the battery compartment for any loose wires or disconnected connectors.
- Inspect the switch or ignition mechanism and make sure it is properly connected and functioning correctly.
Tightening Connections:
Loose connections are a common reason for a scooter not turning on. If you find any loose connections during your inspection, follow these steps to tighten them:
- Carefully disconnect the affected connectors.
- Clean them using a soft cloth or brush to remove any debris or corrosion.
- Reconnect the connectors firmly, ensuring they are securely in place.
- Double-check all the connections and give them a gentle tug to confirm they are tightly secured.
Replacing Damaged Wires:
If you come across any damaged wires during your inspection, it is crucial to replace them to restore functionality to your Aovo Pro Scooter. Here’s what you need to do:
- Identify the damaged wires and their corresponding connectors.
- Disconnect the damaged wires carefully.
- Purchase replacement wires that match the specifications of your scooter.
- Strip the insulation at both ends of the new wires, ensuring an adequate length for proper connection.
- Connect the new wires to the appropriate connectors, making sure they are securely fastened.
Remember to follow the manufacturer’s recommendations and safety precautions throughout the process to avoid any further damage or injury. If the issue persists even after inspecting, tightening, and replacing wires, it may be best to seek professional assistance.

Credit: theelectricfuture.eu
Faulty Power Switch
If your Aovo Pro Scooter is not turning on, it may be due to a faulty power switch. Take a look at the power switch and see if it needs to be repaired or replaced to get your scooter up and running again.
The power switch is a vital component of your Aovo Pro Scooter. If it isn’t functioning properly, you won’t be able to turn on your scooter and enjoy your ride. In this section, we will explore ways to test the power switch and provide guidance on repairing or replacing it.
Testing The Power Switch:
To determine if the power switch is faulty, you can follow these steps:
- Check for any visible signs of damage or wear on the power switch.
- Test the power switch by using a multimeter to measure its continuity.
- Connect the multimeter leads to the power switch terminals.
- Activate the switch to see if the multimeter registers a closed circuit.
- If the multimeter shows an open circuit despite the switch being activated, it indicates a faulty switch.
Repairing Or Replacing The Switch:
If you’ve confirmed that the power switch is indeed faulty, you have a few options for fixing the issue:
- Repair the switch:
- Carefully open the power switch casing using a small screwdriver or pry tool.
- Inspect the internal components for any loose connections or damaged parts.
- Tighten any loose connections or replace broken components if possible.
- Reassemble the power switch and test it again for functionality.
- Replace the switch:
- If repairing the switch isn’t feasible or doesn’t resolve the issue, you may need to replace it entirely.
- Locate a suitable replacement power switch compatible with your Aovo Pro Scooter model.
- Follow the manufacturer’s instructions or seek professional assistance to ensure a safe and proper installation.
Remember to exercise caution when handling electrical components and disconnect the power source before attempting any repairs or replacements. If you’re uncertain or uncomfortable with the process, it’s always advisable to consult a professional or contact the manufacturer for assistance.
By testing the power switch and either repairing or replacing it, you can get your Aovo Pro Scooter up and running again, ensuring many more enjoyable rides in the future.
Other Possible Causes
Possible causes for the Aovo Pro Scooter not turning on may include a dead battery, faulty wiring, or a malfunctioning power switch. Check these components to troubleshoot the issue and get your scooter back up and running.
If your Aovo Pro Scooter is not turning on, there could be several other factors contributing to the issue. Consider the following possibilities:
Motor Issues:
- Loose or disconnected motor connections: Check if the wires connecting the motor to the battery or controller are securely fastened. Loose connections can prevent the scooter from turning on.
- Burned-out motor: Overheating or excessive use can lead to a motor burning out. If you notice a burnt smell or unusual noise coming from the motor, it may need to be replaced.
Controller Problems:
- Faulty controller connections: Inspect the connections between the controller, battery, and motor. Ensure they are properly connected and free from any damage or corrosion.
- Damaged controller: A malfunctioning controller can prevent the scooter from turning on. If you suspect the controller is the problem, it may need to be repaired or replaced.
Faulty Throttle:
- Loose throttle connection: Check if the throttle is securely connected to the controller. A loose connection can disrupt the communication between the throttle and controller, resulting in startup issues.
- Damaged or worn-out throttle: Excessive use or physical damage to the throttle can render it ineffective. If the throttle is not working properly or feels unresponsive, it might need replacement.
Remember to exercise caution when conducting any troubleshooting or repairs. If you are unsure about how to proceed, it is recommended to consult a professional or refer to the manufacturer’s guidelines.
By considering these other possible causes, you can effectively diagnose and resolve the issue of your Aovo Pro Scooter not turning on. Keep in mind that regular maintenance and proper handling of the scooter can help prevent these problems from occurring in the future.
Motor Issues
The Aovo Pro Scooter is experiencing motor issues and won’t turn on, causing user frustration. Troubleshooting steps can be taken to diagnose the problem and resolve it efficiently.
If you’re experiencing issues with the motor of your Aovo Pro Scooter, such as it not turning on or not functioning properly, there are a few steps you can take to diagnose and resolve the problem. In this section, we’ll cover the process of testing the motor and discuss potential options for repairing or replacing it.
Testing The Motor:
To determine if the motor is the cause of the problem, follow these steps:
- Check the power source: Ensure that the scooter is properly connected to a power outlet or that the battery is charged.
- Inspect the wiring: Examine the wiring connections between the motor and the battery/controller for any loose or disconnected wires.
- Listen for unusual sounds: If the motor emits strange noises when attempting to turn it on, it may indicate a mechanical issue.
- Measure voltage: Use a multimeter to test the voltage output of the motor. If the reading is significantly lower than the expected voltage, the motor may be faulty.
Repairing Or Replacing The Motor:
If the motor is indeed the culprit, you have a few options to address the issue:
- Motor repair: Depending on the extent of the damage, you may be able to repair the motor yourself or contact a professional for assistance.
- Replacement parts: If specific components of the motor are defective, you can purchase replacement parts and install them to restore functionality.
- Motor replacement: If the motor cannot be repaired or if the damage is severe, it might be necessary to replace the entire motor unit. You can find compatible replacement motors from authorized dealers or scooter manufacturers.
Remember, troubleshooting and fixing motor issues should be done with caution. If you’re unsure about the best course of action or if the problem persists, it’s recommended to consult a professional technician who specializes in scooter repairs.
By following these steps and understanding the process of testing and repairing/replacing the motor, you’ll be equipped to tackle motor issues affecting the performance of your Aovo Pro Scooter.
Controller Problems
Having trouble with your Aovo Pro Scooter not turning on? If you’re experiencing controller problems, it could be a potential issue causing the scooter to malfunction. Don’t worry, we’ve got you covered with solutions to get your scooter up and running smoothly again.
If you’re experiencing issues with your Aovo Pro Scooter not turning on, it could be due to controller problems. The controller plays a crucial role in activating the scooter and ensuring its functionality. Here are a few steps to help you identify and resolve potential controller issues:
Testing The Controller:
To determine whether the controller is the culprit behind your scooter’s unresponsiveness, you can conduct a few tests:
- Check for power supply: Ensure that the scooter has a fully charged battery and that the power switch is turned on. Also, verify that the controller’s battery is charged and properly connected.
- Inspect the cables: Examine the wires connecting the controller to the scooter for any signs of damage or loose connections. If you find any issues, it’s essential to address them promptly.
- Reset the controller: Try resetting the controller by turning off the scooter, disconnecting the battery, and holding down the power button for a few seconds. Reconnect the battery and power on the scooter to see if it solves the problem.
If these tests don’t yield any results, you may need to consider repairing or replacing the controller.
Repairing Or Replacing The Controller:
If you’ve determined that the controller is at fault, here are a few options to get your Aovo Pro Scooter up and running again:
- Seek professional assistance: If you’re unsure about handling electrical components or lack the necessary tools, it’s best to consult a professional scooter repair technician. They can diagnose the issue accurately and perform the required repairs.
- DIY repair: If you’re confident in your abilities, you can attempt to repair the controller yourself. This may involve soldering, replacing faulty components, or fixing loose connections. However, it’s crucial to have the necessary knowledge and follow proper safety precautions.
- Replace the controller: If the controller is beyond repair or you prefer a faster solution, consider purchasing a new controller. Ensure that the new controller is compatible with your Aovo Pro Scooter model.
Remember, any electrical repairs should be carried out with caution, and it’s always advisable to refer to the manufacturer’s guidelines or seek professional assistance when necessary.
By troubleshooting and addressing controller problems, you can potentially resolve the issue of your Aovo Pro Scooter not turning on. Take the necessary steps to get back to cruising around on your scooter with ease and enjoyment.
Faulty Throttle
The Aovo Pro Scooter may not turn on due to a faulty throttle. This issue can be resolved by troubleshooting the throttle mechanism or seeking professional assistance for repair.
A malfunctioning throttle can be a frustrating issue to deal with when using your Aovo Pro Scooter. The throttle is responsible for regulating the speed and acceleration of the scooter, so when it doesn’t work properly, your ride comes to a halt.
In this section, we will explore how to test and repair or replace a faulty throttle.
Testing The Throttle
To determine if the throttle is indeed the culprit behind your Aovo Pro Scooter not turning on, you can follow these steps:
- Check the throttle connection: Make sure the throttle cable is securely connected to the scooter’s control module. Inspect for any loose or frayed wires that may be causing a poor connection.
- Test the throttle voltage: Use a multimeter to measure the voltage output of the throttle. Connect the multimeter probes to the throttle wires and twist the throttle. The reading should reflect a change in voltage as you increase or decrease the throttle input.
- Assess throttle resistance: While the scooter is turned off, turn the throttle back and forth. It should move smoothly without any stiffness or resistance. If you encounter any difficulty or it feels sticky, there may be a problem with the throttle mechanism.
Repairing Or Replacing The Throttle
Once you have determined that the throttle is indeed at fault, you can proceed with repairing or replacing it. Here are a few possible solutions:
- Clean the throttle assembly: If the throttle is sticking due to dirt or debris, you can try cleaning it. Disconnect the throttle cable, remove the throttle assembly, and gently clean it using a mild detergent and a soft cloth. Ensure that all components are dry before reassembling.
- Lubricate the throttle: Sometimes, lack of proper lubrication can cause the throttle to become stiff. Apply a small amount of silicone-based lubricant to the throttle mechanism and work it back and forth to distribute the lubricant evenly.
- Replace the throttle: If cleaning and lubrication do not resolve the issue, you may need to replace the throttle entirely. Consult the manufacturer’s instructions or seek professional assistance to ensure you install the correct replacement throttle.
Now that you have an understanding of how to test and troubleshoot a faulty throttle on your Aovo Pro Scooter, you can confidently address this issue when it arises. Remember to follow safety precautions and consult experts if needed. Happy riding!
Frequently Asked Questions Of Aovo Pro Scooter Not Turning On
Why Isn T My Aovo Pro Scooter Turning On?
The AOVO Pro scooter may not turn on due to various reasons such as a dead battery or a faulty connection. Check the battery charge and connections to troubleshoot the issue.
Why Is My Scooter Not Turning On?
Possible Answer: There might be a few reasons why your scooter is not turning on, including battery issues, ignition problems, or a faulty electrical system.
How Do I Turn On My Aovo Pro?
To turn on your AOVO Pro, simply press and hold the power button until the device powers on.
Where Is The Reset Button On My Electric Scooter?
The reset button on your electric scooter is usually located near the battery compartment.
Conclusion
To summarize, if you are experiencing issues with your Aovo Pro Scooter not turning on, there are a few potential solutions you can try. Firstly, check the battery and ensure it is properly charged and securely connected. If the battery is working fine, inspect the power switch and make sure it is in the correct position.
Another possible cause could be a faulty motor or controller, in which case it may be necessary to contact customer support for further assistance or potentially replace the parts. Additionally, conducting a thorough inspection of the wiring and connections can help identify any loose or damaged components that may be causing the issue.
Remember to always follow proper safety precautions and consult the user manual for guidance. By working through these troubleshooting steps, you should be able to get your Aovo Pro Scooter up and running again in no time.