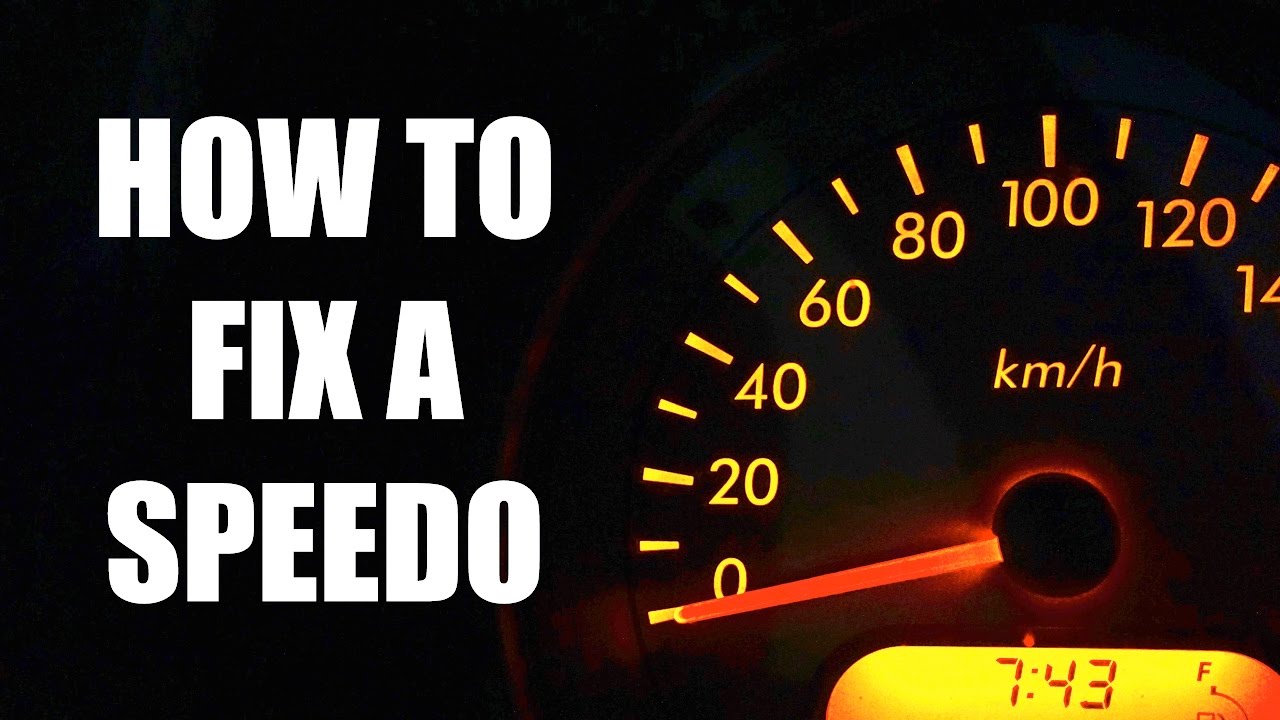
Speedometer Not Working on Scooter: Fix the Issue with these Easy Steps
The speedometer on a scooter may not be working due to a faulty speed sensor or a broken cable. It is important to check these components and replace them if necessary to restore proper speedometer functionality.
Neglecting this issue can lead to inaccurate speed readings and potential safety hazards. In addition, a malfunctioning speedometer may also indicate a larger problem with the scooter’s electrical system, which should be addressed by a professional technician. Remember to regularly inspect and maintain your scooter to ensure all components are functioning correctly and to promote a safe riding experience.
Possible Reasons For A Non-Functioning Speedometer
A non-functioning speedometer on your scooter could be caused by a variety of issues, such as a faulty speed sensor, electrical problems, or a broken cable. It is important to diagnose and fix the problem to ensure accurate speed readings while riding.
:
Is your scooter’s speedometer not working? Don’t worry – we’ve got you covered. There are several potential causes for this issue that you can check before taking your scooter to the mechanic. In this section, we will explore four common reasons why your speedometer may not be functioning properly.
Damaged Speedometer Cable:
- The speedometer cable connects the speedometer to the scooter’s front wheel. If the cable is damaged or severed, it may result in a non-functioning speedometer.
- Examine the cable for any signs of wear and tear, such as fraying or kinks. If you notice any damage, you will likely need to replace the cable to restore functionality to your speedometer.
Faulty Speedometer Sensor:
- The speedometer sensor is responsible for detecting the rotational movement of the scooter’s wheels. If it becomes faulty or malfunctions, your speedometer may not work correctly.
- Check the sensor for any signs of damage or corrosion. If necessary, clean the sensor to remove any debris or dirt that may be affecting its performance. If the problem persists, consider replacing the sensor.
Electrical Issues:
- Electrical problems can often be the culprit behind a non-functioning speedometer. Issues such as a blown fuse, loose wiring connections, or a faulty ignition switch can disrupt the electrical flow to the speedometer.
- Inspect the fuse box and wiring connections to ensure everything is properly connected. If you find any loose connections or blown fuses, fix them accordingly. If the problem persists, it may be necessary to consult a professional to diagnose and fix the electrical issue.
Mechanical Problems:
- Various mechanical problems with your scooter can also cause the speedometer to stop working. For example, a worn-out speedometer gear or a broken speedometer drive can prevent accurate speed readings.
- Carefully examine these components and look for any visible signs of damage. If required, replace the faulty parts to restore your speedometer’s functionality.
Remember, identifying the exact cause of a non-functioning speedometer can sometimes be tricky. If you have exhausted the options above and the issue persists, it is advisable to seek professional assistance to diagnose and resolve the problem.
Inspecting The Speedometer Cable
Inspect the speedometer cable on your scooter if you’re experiencing issues with the speedometer not working. Check for any damage or disconnection that may be causing the problem.
Locating The Speedometer Cable
Is an essential step in diagnosing why your scooter’s speedometer might not be working properly. The speedometer cable is responsible for transmitting the rotation speed of the front wheel to the speedometer unit on your scooter’s dashboard. To locate the speedometer cable, follow these steps:
- Start by locating the front wheel of your scooter.
- Trace the cable that connects to the front wheel hub.
- Follow the cable towards the dashboard of your scooter.
- Take note of any visible damages or wear on the cable as it runs along its path.
Checking For Any Visible Damages Or Wear
Once you have located the speedometer cable, it’s important to examine it for any visible damages or wear. These issues can cause the speedometer to malfunction or become inaccurate. To perform this inspection, follow these guidelines:
- Look for cuts, fraying, or kinks on the speedometer cable. Damages in the cable’s outer sheath can lead to signal interference or even a complete loss of speedometer reading.
- Check for any loose or disconnected connections between the speedometer cable and the front wheel hub or the dashboard unit.
- Ensure that the cable is properly secured along its route and not rubbing against any sharp edges or other components that could damage it.
Replacing The Damaged Cable If Necessary
If you have identified any visible damages or wear on the speedometer cable, it might be necessary to replace the cable to restore proper functionality to your scooter’s speedometer. Here are the steps to follow for a safe and effective replacement:
- Consult your scooter’s user manual or manufacturer’s guidelines to determine the correct replacement speedometer cable for your specific make and model.
- Disconnect the damaged cable from both the front wheel hub and the dashboard unit, carefully following any instructions provided in your user manual.
- Install the new cable using the reverse process of the cable removal, ensuring that all connections are secure.
- Test the scooter’s speedometer after the replacement to verify that the new cable is functioning correctly and providing accurate readings.
Remember, addressing issues with the speedometer cable promptly will help you maintain accurate speed readings on your scooter’s dashboard and ensure a safe and enjoyable riding experience.
Testing The Speedometer Sensor
Having trouble with your scooter’s speedometer? If it’s not working, one possible cause could be a faulty speedometer sensor. Test the sensor to diagnose the issue and get your scooter back on track.
Locating The Sensor On The Scooter:
- The speedometer sensor is typically located near the front wheel or the transmission of the scooter.
- Look for a small rectangular or cylindrical device with wires coming out of it.
- Consult the scooter’s manual or online resources specific to your scooter model to find the exact location of the sensor.
Verifying The Connection And Condition Of The Sensor:
- Start by visually inspecting the sensor and its wires for any signs of damage or loose connections.
- Ensure that the sensor is securely connected to its designated port without any loose or bent pins.
- If you notice any damage or loose connections, it may be necessary to replace the sensor or repair the wires.
Testing The Sensor’S Functionality With A Multimeter Or Voltmeter:
- Set your multimeter or voltmeter to the appropriate setting for testing continuity or resistance.
- Connect the positive lead of the meter to the sensor’s positive wire and the negative lead to the negative wire.
- If the meter shows a reading within the expected range, it indicates that the sensor is functioning properly.
- If there is no reading or the reading is outside the expected range, it may indicate a faulty sensor that needs to be replaced.
Remember to consult your scooter’s manual or seek professional assistance if you are unsure about any step in testing the speedometer sensor.
Inspecting The Scooter’S Battery
To resolve the issue of a speedometer not working on a scooter, it is important to inspect the scooter’s battery for any potential issues or faults. By carefully examining the battery, you can identify and address any issues that may be causing the speedometer malfunction.
As an essential component of your scooter’s electrical system, the battery can often be the culprit if your speedometer is not working. It’s important to thoroughly inspect the battery to determine if it is the source of the problem. Follow these steps to check and evaluate the battery:
Checking The Battery’S Charge Level
Checking the charge level of your scooter’s battery is the first step in troubleshooting the speedometer issue. Here’s how to do it:
- Start by turning off the scooter’s engine and removing the key from the ignition.
- Locate the battery compartment, usually located under the seat or in the front of the scooter.
- Use a multimeter or voltmeter to measure the battery’s voltage. Ensure the device is set to the DC voltage range.
- Connect the positive lead of the multimeter to the battery’s positive terminal and the negative lead to the negative terminal.
- Read the voltage displayed on the multimeter. A fully charged battery should typically read around 12.6 to 12.8 volts.
- If the reading is significantly lower, it indicates that the battery is not fully charged and may need to be recharged or replaced.
Testing The Voltage Output
In addition to the charge level, testing the voltage output of the battery while the scooter is running can provide further insight. Here’s what you should do:
- Start the scooter’s engine and let it idle for a few minutes to ensure the battery is receiving a charge.
- Use the multimeter or voltmeter to measure the battery’s voltage while the engine is running.
- Connect the positive lead of the device to the positive terminal of the battery and the negative lead to the negative terminal.
- Read the voltage displayed on the device. A properly functioning charging system should show a voltage between 13.5 and 14.5 volts while the engine is running.
- If the voltage reading is significantly lower or higher, it may indicate a problem with the charging system, such as a faulty voltage regulator or alternator, rather than the battery itself.
Replacing A Faulty Battery If Necessary
If you have determined that the battery is faulty and the cause of the speedometer issue, it will need to be replaced. Follow these steps for a successful replacement:
- Start by disconnecting the negative terminal (usually marked with a “-“) from the battery, followed by the positive terminal (usually marked with a “+”).
- Remove any necessary panels or covers to access the battery.
- Take note of the battery’s specifications, such as voltage rating and capacity, to ensure you purchase the correct replacement.
- Install the new battery by connecting the positive terminal first, followed by the negative terminal.
- Securely fasten the battery and reassemble any panels or covers that were removed.
- Double-check all connections to ensure they are tight and secure before testing the scooter’s speedometer functionality.
By thoroughly inspecting the scooter’s battery, checking the charge level, testing the voltage output, and replacing a faulty battery if necessary, you can troubleshoot and resolve the speedometer not working issue on your scooter. Remember to adhere to safety precautions and seek professional assistance if needed.
Checking The Fuse
To troubleshoot a speedometer not working on a scooter, start by checking the fuse. This simple step can often resolve the issue and get your scooter’s speedometer back on track.
Locating The Fuse Box On The Scooter
- The fuse box on a scooter is typically located in an accessible area, such as under the seat or near the battery compartment.
- Look for a small plastic box with a removable cover. It may be labeled as “fuse box” or have a diagram indicating its location.
- If you’re unsure about the exact location, consult the scooter’s manual or check online forums for assistance.
- Once you’ve located the fuse box, carefully remove the cover to access the fuses.
Inspecting The Fuse Related To The Speedometer
- Look for the fuse specifically related to the speedometer function. It should be labeled as such or mentioned in the scooter’s manual.
- Inspect the fuse for any signs of damage, such as a blown filament or discoloration.
- If the fuse appears intact, you may still want to try replacing it as a precautionary measure, as a faulty connection could still be the cause of the speedometer issue.
- In case of multiple fuses related to the speedometer, inspect each one individually to identify the problematic fuse.
Replacing A Blown Fuse If Needed
- Purchase a replacement fuse with the same amp rating as the blown one. The amp rating is usually printed on the fuse itself or mentioned in the scooter’s manual.
- Remove the blown fuse from its socket by gently pulling it straight out.
- Insert the new fuse into the socket, ensuring a snug fit.
- Once the new fuse is securely in place, carefully put the cover back on the fuse box.
- Test your scooter’s speedometer to see if the issue has been resolved. If the speedometer is still not working, there may be an underlying electrical problem that requires further inspection or professional assistance.
Remember to always prioritize safety when inspecting or replacing fuses. If you’re unsure or uncomfortable with handling electrical components, it’s best to consult a trained technician or the manufacturer’s service center for assistance.
Troubleshooting Wiring Connections
Troubleshooting wiring connections can help fix a speedometer issue on a scooter. Check for loose or damaged wires and ensure proper connections for a accurate reading.
Inspecting The Wiring Connections Related To The Speedometer:
If your scooter’s speedometer is not working properly, it’s essential to inspect the wiring connections associated with it. A faulty connection can often be the culprit behind this issue. Follow these steps to troubleshoot wiring connections:
- Start by locating the wiring harness connected to the speedometer. It is usually situated near the handlebars or under the seat.
- Carefully inspect the connectors to ensure they are securely plugged in. Sometimes, loose connections can lead to malfunctioning speedometers.
- Check for any visible signs of damage, such as frayed wires or broken connectors. These issues can disrupt the flow of electrical signals and cause the speedometer to stop working.
- In addition to visible damage, look out for any signs of corrosion on the connectors. Corroded connections can impede the proper transmission of current, resulting in speedometer failure.
- If you notice any corroded connectors, use a wire brush or abrasive pad to gently clean them. Ensure all corrosion is removed before reconnecting the wiring.
- Be thorough in your inspection, checking for any loose or damaged wires along the entire length of the wiring harness. Any abnormalities should be addressed promptly.
- In case you find damaged wiring, it may be necessary to repair or replace the affected sections. This will restore the integrity of the electrical connections and allow the speedometer to function correctly.
By troubleshooting the wiring connections related to the speedometer, you can identify and fix potential issues that might be causing the malfunction. Remember to double-check all connections and thoroughly inspect for any damage or corrosion. Addressing these problems will help ensure your scooter’s speedometer operates as intended, providing you with accurate speed readings and enhancing your riding experience.
Verifying Wheel And Odometer Functions
Verify the functionality of your scooter’s wheel and odometer to address the speedometer issue effectively. This process ensures an accurate measurement of speed and mileage, ensuring a smoother and safer ride on your scooter.
If you notice that the speedometer on your scooter is not working, it’s essential to check if the wheels and odometer are functioning properly. By inspecting for any signs of damage or misalignment, you can determine if there are any underlying issues that need attention.
Let’s dive deeper into this to help you diagnose the problem:
Checking If The Wheels And Odometer Are Functioning Properly:
Here are a few steps to follow when inspecting the wheels and odometer on your scooter:
- Visually examine the wheels: Look closely at the wheels to check for any visible signs of damage. Inspect the rims for any cracks, dents, or bends that may impact their rotation. It’s also a good idea to ensure that the wheels are properly aligned and seated securely onto the axle.
- Check tire pressure: Proper tire pressure is crucial for accurate speedometer readings. Use a tire pressure gauge to measure the air pressure in your scooter’s tires. If the pressure is below or above the recommended range, inflate or deflate the tires accordingly.
- Inspect the odometer cable and connections: Locate the odometer cable, which connects the front wheel to the instrument cluster. Ensure that the cable is not damaged, kinked, or broken. Verify that the cable is securely connected at both ends, as loose connections can affect the speedometer’s functionality.
- Test the wheel rotation: Lift your scooter’s rear wheel off the ground and rotate it manually. Observe if the speedometer needle moves in response to the wheel’s rotation. If the needle remains stationary, there may be an issue with the cable or the speedometer itself.
- Perform a road test: Take your scooter for a test ride to verify if the speedometer accurately reflects the scooter’s speed. Pay attention to any discrepancies between your scooter’s actual speed and the speedometer reading. This will help you further pinpoint the root cause of the problem.
Inspecting For Any Signs Of Damage Or Misalignment:
When examining the wheels and odometer, look out for the following signs of damage or misalignment:
- Cracks, dents, or bends on the rims: These can impact the wheels’ ability to rotate smoothly and provide accurate readings.
- Damaged or kinked odometer cable: A damaged or kinked cable can create friction and hinder the proper transmission of speed data to the speedometer.
- Loose or disconnected cable connections: Ensure that the odometer cable is securely attached at both ends to guarantee accurate readings.
Repairing Or Replacing Any Faulty Components:
If you find any issues during your inspection, it’s crucial to address them promptly. Here are some possible actions to take:
- Repairing damaged rims: If the rims are damaged, consider visiting a scooter repair shop to have them fixed or replaced.
- Replacing a damaged odometer cable: If the cable is damaged beyond repair, it’s recommended to replace it with a new one to ensure accurate readings.
- Securing loose cable connections: If the cable connections are loose, tighten them to establish a secure and reliable connection.
By following these steps, you can verify if the wheels and odometer on your scooter are functioning properly. Keep in mind that if you encounter any complex issues or are unsure about the necessary repairs, it’s best to consult a professional mechanic to avoid any further complications.
Examining The Gear Mechanism
Examining the gear mechanism can be crucial when your speedometer is not working on your scooter. Understanding the inner workings of the gears can help diagnose and fix the issue, ensuring accurate speed measurements while riding.
Accessing The Gear Mechanism Related To The Speedometer
When your scooter’s speedometer stops working, it can be frustrating and inconvenient. One possible cause of this issue is a problem with the gear mechanism. To diagnose and resolve the problem, follow these steps to access the gear mechanism related to the speedometer:
- Begin by locating the scooter’s speedometer assembly, usually located on the handlebars or dashboard.
- Depending on the scooter model, you may need to remove a plastic cover or panel to access the gear mechanism.
- Once you have gained access, you can inspect the gear mechanism for any damages or obstructions that may be causing the speedometer to malfunction.
Inspecting For Any Damages Or Obstructions
Once you have accessed the gear mechanism of your scooter’s speedometer, it’s crucial to inspect for any damages or obstructions that may be affecting its functionality. Here are some key points to consider during the inspection:
- Check for any visible damages or signs of wear on the gear mechanism components, such as broken teeth, cracks, or excessive looseness.
- Look for any debris, dirt, or other foreign objects that may be obstructing the gears from turning smoothly.
- Ensure that all connections and wiring related to the speedometer are intact and secure.
If you notice any damages or obstructions during the inspection, it’s likely the cause of the speedometer issue.
Repairing Or Replacing Any Faulty Parts
Depending on the results of your inspection, you may need to repair or replace any faulty parts to resolve the speedometer problem. Here are the steps to consider for repairing or replacing components:
- If you notice any damages on the gears, you may need to replace them. Consult the scooter’s manual or contact a professional mechanic for assistance in ordering and installing the correct replacement gears.
- In the case of obstructions, such as debris or dirt, clean the gear mechanism thoroughly, ensuring that all nooks and crannies are free from any substances that may impede its function.
- For wiring or connection issues, carefully examine the condition of the wiring and connections. If there are any loose or damaged wires, repair or replace them accordingly.
By addressing any identified faults or obstructions with the gear mechanism, you should be able to restore the speedometer’s functionality and get your scooter back on track.
Remember, if you are unsure about accessing or repairing the gear mechanism yourself, it’s always best to consult a professional mechanic who specializes in scooter repairs. They can provide expert guidance and ensure that the speedometer issue is resolved correctly.
Calibrating The Speedometer
Having trouble with your scooter’s speedometer? It may need calibrating to ensure accurate readings. Get back on track with a properly functioning speedometer by following simple calibration steps.
Understanding The Calibration Process
- Calibration is a crucial step in ensuring the accuracy of your scooter’s speedometer.
- By calibrating the speedometer, you can accurately measure your scooter’s speed and avoid any potential issues or inaccuracies.
- Understanding the calibration process is essential for maintaining the optimal performance of your scooter.
- Here are the key points to consider when it comes to the calibration process:
Utilizing A Speedometer Calibration Tool Or Technique
- There are different tools and techniques available to calibrate your scooter’s speedometer.
- One common method is to use a GPS device to measure the actual speed of your scooter.
- You can compare the readings from the GPS device with the speedometer reading to determine any discrepancies.
- Another technique is to use a speedometer calibration application on your smartphone, which can provide accurate readings.
- It’s important to choose a reliable calibration tool or technique to ensure precise results.
Verifying Accuracy And Functionality After Calibration
- After calibrating the speedometer, it’s crucial to verify the accuracy and functionality of the readings.
- Take your scooter for a test ride and compare the speedometer reading with the actual speed you are traveling.
- Ensure that the speedometer is displaying the correct speed and that there are no significant differences between the readings and actual speed.
- If you notice any discrepancies, recalibrate the speedometer and repeat the verification process to ensure accurate results.
- Keep in mind that maintaining an accurate speedometer is vital for your safety and adherence to traffic regulations.
Remember, properly calibrating the speedometer will help you maintain accurate readings and ensure a safe riding experience. Utilize suitable tools or techniques, verify the accuracy after calibration, and repeat the process if necessary. With these steps, you can rely on your scooter’s speedometer to provide accurate speed readings during your rides.

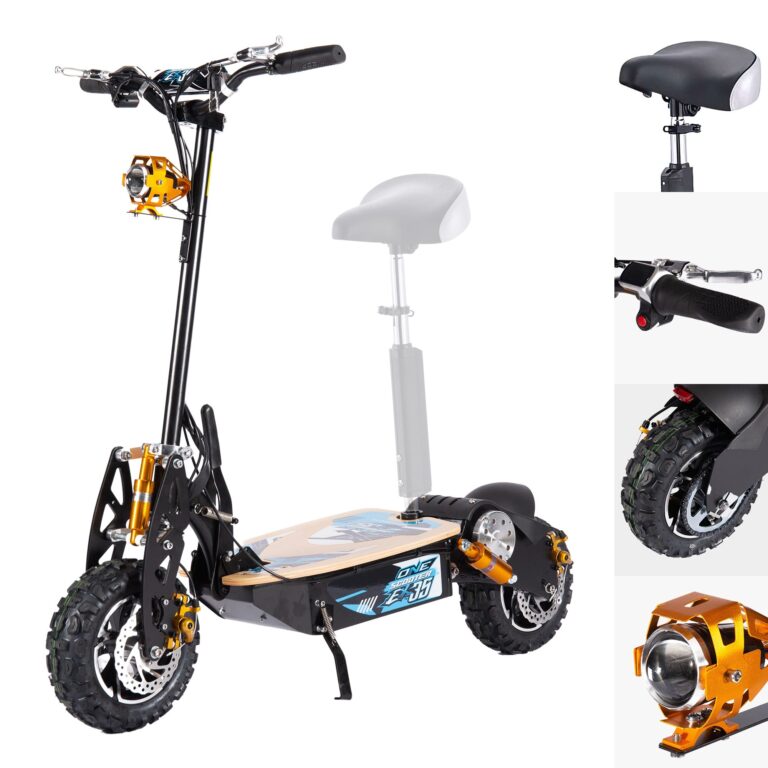
Credit: www.amazon.com
Frequently Asked Questions Of Speedometer Not Working On Scooter
What Would Cause The Speedometer To Stop Working?
Possible causes for a speedometer to stop working include a faulty speed sensor or a broken speedometer cable.
Why Is My Speedometer Not Working On My Motorcycle?
The speedometer on your motorcycle may not be working due to a faulty cable or sensor.
How Do You Reset A Speedometer Sensor?
To reset a speedometer sensor, locate the sensor and disconnect the battery for a few minutes.
How Much Does It Cost To Fix A Broken Speedometer?
The cost of repairing a broken speedometer varies, but it could range from $100 to $500, depending on the issue.
Conclusion
If you are experiencing a speedometer issue on your scooter, it is important to address it promptly. Ignoring this problem can lead to inaccurate speed readings and potential safety hazards. In order to troubleshoot the issue, consider checking the speedometer cable for any damage or disconnection.
Additionally, examining the speed sensor or magnet can help determine if they are functioning properly. If these components seem to be in good condition, it may be necessary to seek professional assistance to diagnose and repair the problem. Remember, a properly functioning speedometer is not only essential for monitoring your speed, but it also ensures a smooth and safe riding experience.
So, don’t hesitate to take the necessary steps to fix any speedometer issues on your scooter. Your safety is worth it!